Hey guys! Today I am excited to share with you a new sewing tutorial for on to make a lazy susan cover! Why am I excited? Well, because I think it’s adorable, but also because I get to share with you some things I learned while making it. Ready to jump in? I thought so.
First up, supplies:
- 4 sheets of craft felt (Two each of two different colors)
- 1/4 yard of quilt weight fabric (This may vary if your lazy susan is taller than mine) in coordinating colors
- Gros grain ribbon
- Stitch witch/hem tape
- scissors
- tape measure (or two!)
- iron
- pins
- thread
- a bottle of fray check
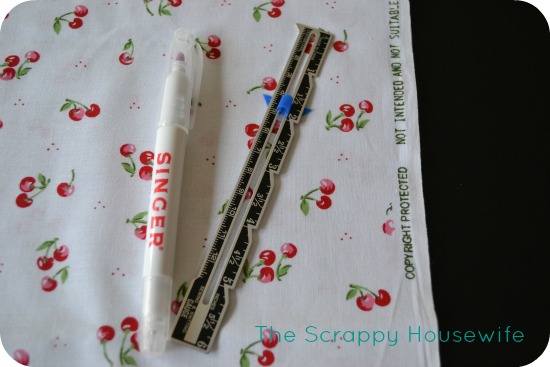
- a fabric marking pen (I used water soluble, but you can also use the disappearing kind)
- a hem guide
- two pencils
- kraft paper
- some tape
Here’s how I did it:
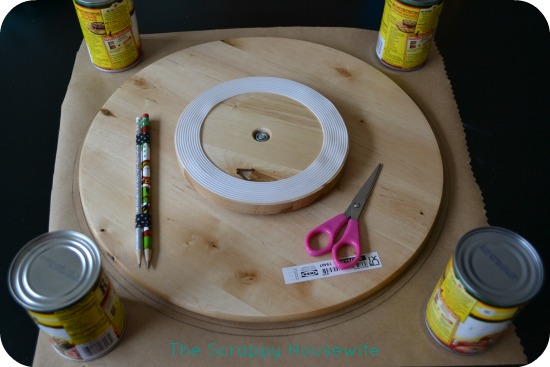
1. First, you want to lay out your kraft paper. I used some canned goods to hold it down and it also helped to flatten it out a bit. Then, take your two pencils and tape them together. You can see in the picture below that I used some washi tape on mine. Worked like a charm!
Why two pencils? Well, you’re creating a pattern and that means you need a seam allowance for sewing. Two pencils taped together are exactly 1/4″ apart, which is a perfect seam allowance for most projects! Genius right? I can’t take credit for this bit of brilliance though, go here to check it out.
Then, trace around your lazy susan making sure both pencils make contact with the kraft paper.

2. Next you want to cut out your circle, careful that you cut along the outside circle and not the inside one. Then, fold your circle in half and then in half again (see below).

3. After you fold, use your scissors to cut along the folds. You should have four fairly even wedges. Pin each of those wedges on a separate piece of your felt. Make sure you leave some room around all sides of the wedge (we’ll talk about why in a minute). You can see how I did this here:

4. Now, cut out your wedges, starting along the curved side, right up against the pattern. When you get to the straight edges you want to leave about 1/4″ outside of your pattern piece for seam allowance, so make sure you don’t cut right up against those straight edges!
5. OK, now you need to measure around the outside of your lazy susan with your measuring tape. You need to know how many inches around your circle is so we can cut the border. If you have a measuring tape, go ahead and skip the next paragraph. If you don’t, you’ll need a quick math refresher before we can continue…
Here’s where it gets tricky (especially, if like me you couldn’t remember 8th grade math!) if you don’t have a measuring tape (the sewing kind, not the out in the garage kind!), but you can do this! If you don’t have a measuring tape (or can’t find yours – like say, me yesterday *ahem*) You need to find the diameter and circumference of your lazy susan. It’s tricky, but not hard. Here’s what you do:
First, measure across the top of your circle as close to the middle as you can. That’s your diameter.

Here’s where the math comes in. The diameter of my circle was 15 inches.
To find my circumference I multiplied 15 by 3.14.
15 inches x 3.14 = 47.1 inches
I bumped that up to 48 inches just to account for a seam allowance on the border/skirt piece that’s coming up soon. Then I divided that number down to 24 inches. We’ll be using two strips of fabric for the border because most quilt weight fabrics are 44 or 45″ wide, but not 48″.
Hold on to those numbers.
6. Next, measure the height of your lazy susan and don’t forget to add a 1/4″ seam allowance to that number. For example, mine was 1.5″ and I bumped that up to 1.75″ for a seam allowance.

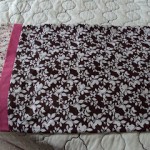
7. Now, take out your quilt weight fabric. Mine is this adorable cherry print that I bought for another project you’ll be seeing in the future. You’ll also need your fabric marker and your hem guide.
8. Make sure your fabric is folded evenly in half so you have a double thickness and then carefully use your hem guide to mark out the width of your border (in my case, the 1.75″ I just measured – yours might vary).

Don’t worry about the little dots you make, you won’t see it in the finished project anyway. This is a good time to tell you though that if you plan on using a disappearing ink, this is not a good time to lay your project aside – you might come back and have to redo it!
9. Next, cut your strips using your little dots as a guide. In order to get two 24″ strips, I had to do steps 8 and 9 twice. Then give them a good press with your iron and cut them down to your desired length. I cut mine down to 24″ each.

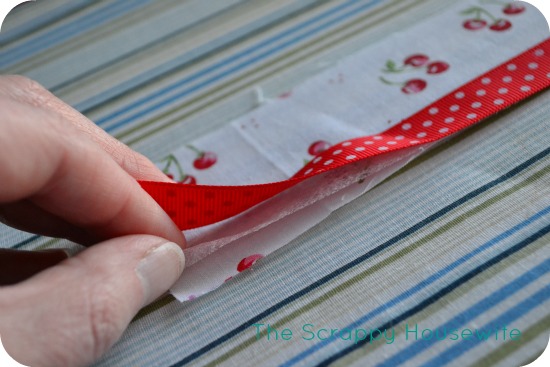
10. Grab your ribbon and hem tape and cut them to the same width as your fabric strips.

11. Apply fray check to one long edge of each fabric strip and let it dry (5 to 10 minutes). We won’t be taking the time to hem this – we’re cheating! Shhh no one will know but us!

12. Once dry, layer your fabric, hem tape and ribbon carefully on top of each other along the edge you fray checked and using a really hot iron, go ahead and iron it all down.
Now comes the fun part…the actual sewing!
13. Take your felt wedges and line up the curved sides. Then pin along only one straight edge.

14. Sew along your pinned straight edge, removing pins as you go. Remember to give yourself a 1/4″ seam allowance!

16. Repeat the above step with your second set of wedges.
17. Open both sets of wedges into their now half circle shape and lay them on top of each other right sides in and line up the curved edges once again. Pin together along the straight edge and sew your seam.

Now you have a full circle!
18. Time to add the trim!

Pin the right side of the circle (the side you’ll see when it’s complete and on your table) to the right side of your fabric (the pretty side). Just for aesthetic reasons, I lined up the edge of my border with the seams of my circle. I think it looks best that way, but go with whatever works for you. Go ahead and sew it up! Sewing around a circle is tricky so take your time. We’re in no hurry.
Repeat with your second piece of border.
19. Finishing touches! Pinch the open ends of your trim/border together and sew them up. If you feel better popping a pin in there, that works too.

And there you have it! A cute cover for your lazy susan that will make your table just a bit brighter. I went with a Valentine’s Day color scheme, but it could be suited to any occasion or something for day to day use.
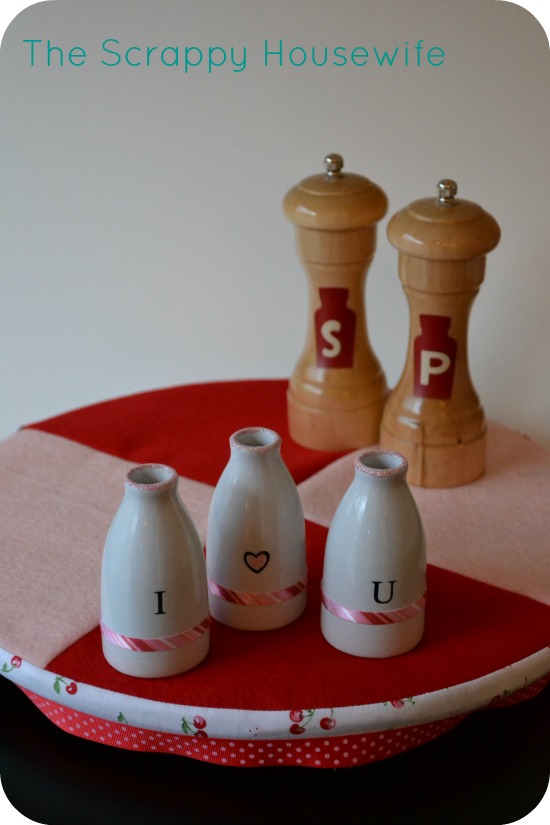
But that’s not all…here’s the truth y’all, the real nitty gritty.
It didn’t turn out quite the way I intended it to.
Are you shocked? I was! But I thought this might be a great opportunity to show you that sometimes real, craft fail, bizarro things happen to the best of us bloggers – me included. And it gives me an opportunity to share some lessons learned. Here goes:
- The felt can be kind of bulky. To make it sit flatter against the surface of your lazy susan, go ahead and trim the excess seam allowance underneath. Just be careful you don’t snip the seams!
- The skirt didn’t turn out quite the way I had imagined it. I wanted it to be less snug and more flowy. I think what might have happened is that the ribbon being attached without sewing made the edges to rigid. It fits kind of snug. To fix that, I might suggest cutting your trim into four pieces and not two. Also, it might help to add a little length to the trim part and cut down your seam allowance. I might try that in the future.
- If you don’t have kraft paper, freezer paper would also work really well for making the pattern.
If you try making it, shoot me an email including a picture and I’ll share it here on the blog and on my Facebook page. And hey, if you’re a better sewist than I am, and you know what might make that skirt a little looser, please leave me a tip or two. I’m all ears!

This post has link parties covered: