Hey, hey! Ya ever have one of those projects where you can see it in your head and you just know it’ll be perfect and perfectly simple and then…it isn’t? Or at the very least it’s not as simple as you thought it would be and you’re stumped at how to finish it? Well that happened to me last week when I was rushing to finish my Advent calendar. I had seen one on the back of a scrapbook magazine and I wanted it, but I just knew I could make it myself. Once I got all the pockets made and decorated however, I realized that placing them on 12 x 12 cardstock sheets as I had planned was not going to work. I had spent a lot of time figuring out how I wanted it laid out 5 x 5 but it just wouldn’t fit and it didn’t look right any other way (and trust me I tried).
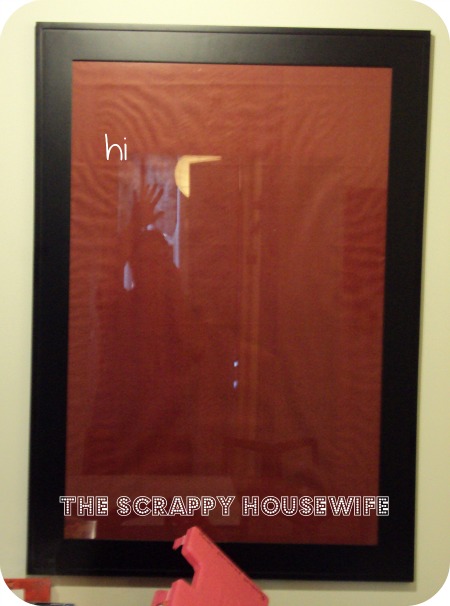
Then, as I was ready to walk away and take a break, it hit me. The clouds parted, the skies opened up, the angels sang – ok maybe it was more like “OMG DUH!” I was walking out of the home office and saw this scene as I always do (as you can tell, I totally cleaned up and kicked the crap out of the way for the picture – ha!):
I could totally cover that wall art for Christmas and make it into my Advent calendar for nothin’ (Really, really didn’t want to have to go out and buy something else)! It was the perfect size! I love my “DUH Moments”. I’m a bright girl I tell ya. 😉 Here’s what I did. It was easy peasy.
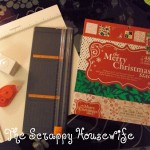
I took the print off of the wall. Then, I grabbed some left over wrapping paper from last year.
I lifted the matted picture out of the frame, placed in the wrapping paper and then put the mat and picture back in. Then I simply “wrapped” it and taped it down gently. It’s not an expensive piece of art so I didn’t mind getting some tape on the back.
Then I reattached the back and rehung it.
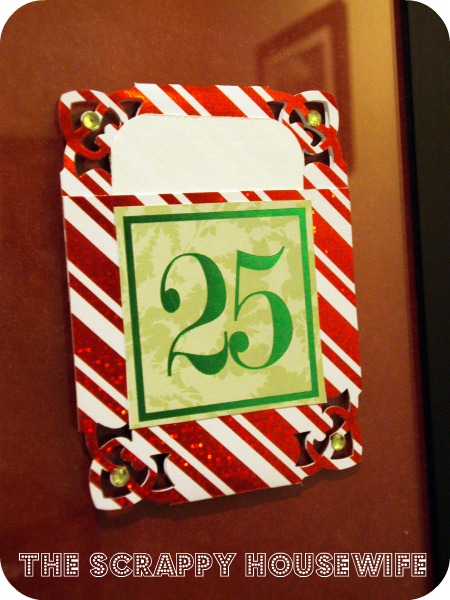
Using some poster putty, I gently pressed the library pockets I had made to the glass.
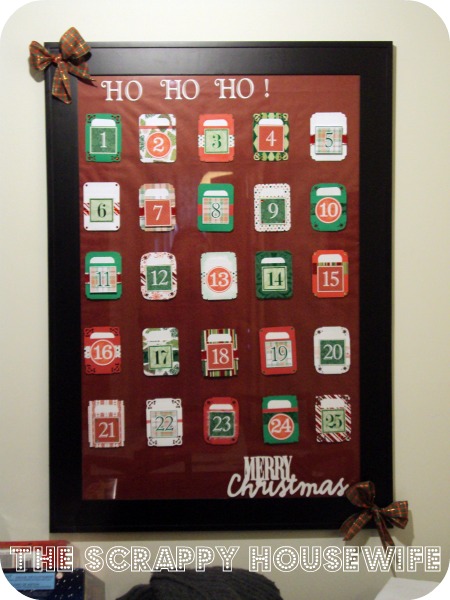
And voila! I easily changed my wall art to an Advent calendar! Nothing is permanent so it’s easily changed back at the end of the season! I added some fun sayings from a couple of my Cricut cartridges and some ribbon scraps made into fun bows for a touch of whimsy.
I am over the moon about how it turned out! The best part is that I had to leave the house before hubby came home and saw it. When I got home, the first words out of his mouth were “That looks awesome! You should blog about it!” *blush* We are truly enjoying the fun little mini-dates each pocket holds.
I’ll be back tomorrow with a special post sharing how I made the pockets. It is so stinkin’ simple! Do you have an Advent Calendar you’d like to share? I’d love to see it – or maybe feature it here? Let me know!
We use cookies to ensure that we give you the best experience on our website. If you continue to use this site we will assume that you are happy with it.OkRead more