Well, if you’ve been following me at all over on Facebook or Twitter then you know I’ve been working on a couple of big projects around here that have taken far more time than necessary. You forgive me right? 😉
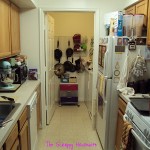
Anyway, tonight I finally get to share one of those projects with you! I’m so excited about this because I’ve been meaning to show you my linen closet organization for awhile, but then the holidays hit and well – the linen closet wasn’t at it’s best. Let’s take a look at the before:

She’s definitely not her best in that picture. 😉 Good thing I cleaned her up a bit. Here’s what I did:
Zone 1 – Linen Storage – The Before

So as you can tell, I’m kind of into home linens and I’m constantly getting more of my mom’s stuff with each visit from my dad, so things were kind of getting out of control in there. Add in the fact that I’m not the most mindful about putting things back where they need to go and you have what appears to be a train wreck in my linen closet.
Now for the after:
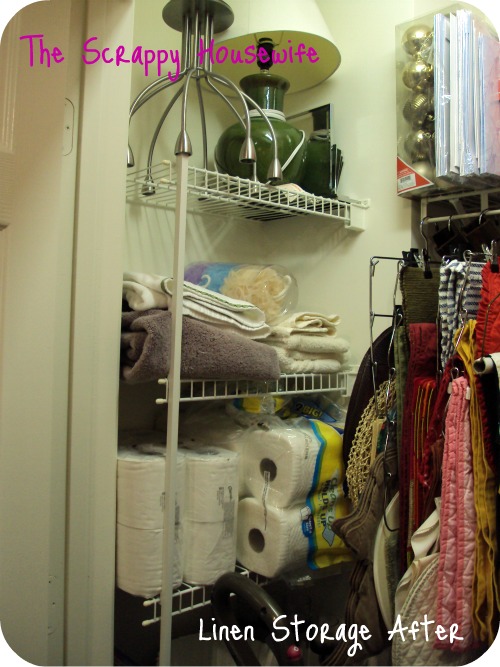
And:

Zone 1 – Tips:
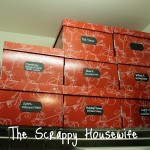
I started by clearing out the linens entirely and purging what we couldn’t/didn’t use anymore, which made for a nice donation bag to Goodwill – mom would be happy. I sorted what remained into some Ikea Lingo boxes I had purchased several months ago (yikes!) and set them aside for later. They weren’t the boxes I had intended on getting, but the ones I wanted were out of stock, so a nice Ikea employee directed me to the Lingo boxes that were on clearance (!) for $1.99/2 pack. I bought 4 packs for a total of $8.00! Score!
I only saved 2 sets of towels for us. With only two people, it’s silly to have uh, 8 towels, plus washcloths, handtowels, etc. This way I’ll have one set being used and one set being washed at any given time.
I decided to move the linens from this side unit to up on the top shelf, save the bath towels, to make room for large home decor, paper towels, and toilet paper. Now look, this is where I have to admit something. I’m one of those stockpilin’ couponers – but I have to admit to you that I have a pretty hard and fast rule that we only stockpile what we can legitimately store. A hard and fast rule we’ve ignored recently when it comes to paper towels and TP. No more of that! We only buy what can fit on that shelf (and maybe a bit of overflow on the shelf below). That’s it!
Zone 2 – Placemats, Tablecloths and Napkin Rings
Before:

After:

Zone 2 – Tips:
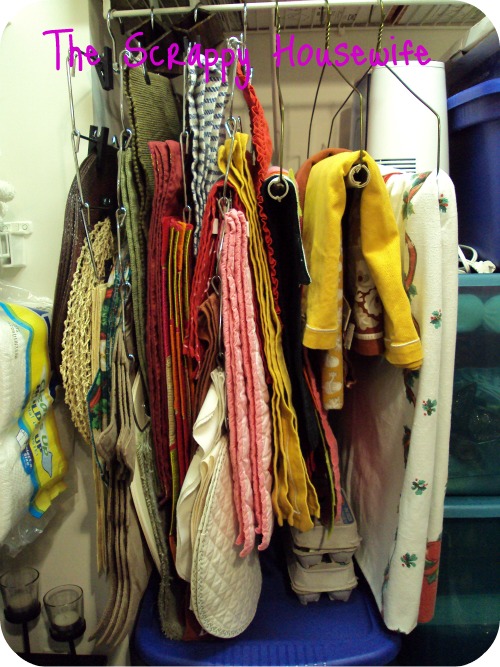
My placemat and table cloth collection is a pride and joy for me. I love changing these things out often and creating tablescapes. It’s a sickness, I know. 😉 Here’s how I store them:
Placemats – Placemats are hung vertically using pants hangers. They take up less space this way, and they don’t wrinkle. I hate ironing! Napkins are draped over the hanger between the clips. I use hangers similar to THIS.
Tablecloths are folded carefully (as few times as possible) and then draped over large oversized dry cleaner hangers – the kind you’d get if you had your comforter dry cleaned. It cuts down on wrinkling. Napkins are draped over coordinating cloths.
Napkin rings – This is a new thing for me and I’m so excited! I used egg cartons to store our napkin rings safely. I just nestled the ring part down into the egg cup and wahoo! Free instant storage!
Zone 3 – Wreaths and Easter Baskets

When tidying this zone up, I really didn’t change anything. I love using adhesive hooks to hang our wreaths and Easter baskets. All I did was add one to hang an extra wreath I made last year. As you can see in both the before and after picture, I also have hooks on the inside of one of the closet doors to hold more.
Zone 4 – Rarely Used Items/Top Shelf Storage
Before:
After:
 |
| Ikea no longer carries this box as far as I can tell. Click here for a similar product. |
Zone 4 – Tips:
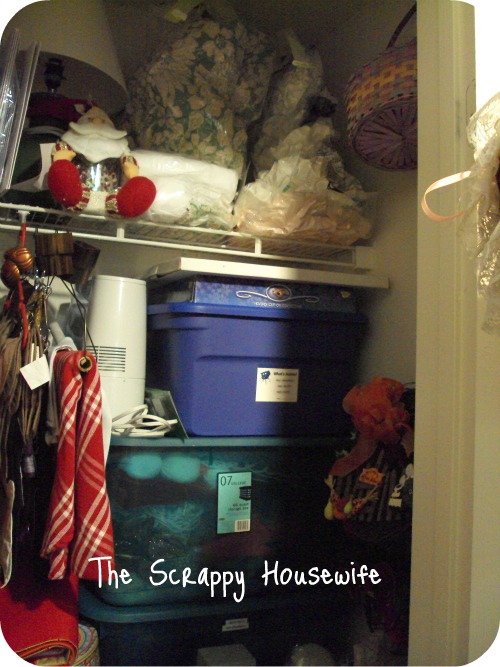
This upper shelf has kind of been a pain since we moved in. As you can see in the before picture, I had linens (very unsuccessfully) stored in a knock off space bag “cube”, but all it really amounted to was some weird vacuum pack sculpture that didn’t make good use of the space. I decided the name brand bags would be worth it, so I ran out yesterday and bought some (they’re on sale at Target this week!). I promptly repacked all the guest linens in the new, name brand Space Bags and slid them under our bed. Worked like a charm!
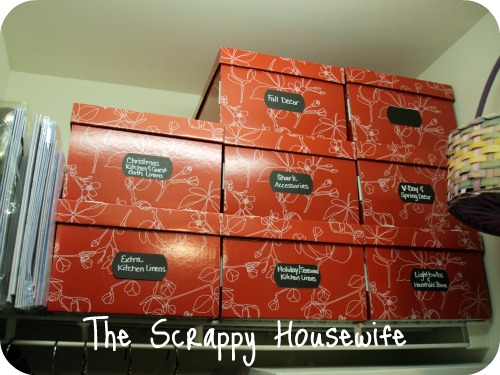
That gave me room to add the Lingo boxes full of household stuff we don’t access as often as a kind of “upstock” situation. I added some sweet chalkboard labels that I created using my Cricut, DCWV’s Chalkboard stack and a Chalk – Ink Pen. I’ll show you how to make them later this week.
As you can see the ornaments and extra gift boxes are still there in the same place.
And here’s the closet now:

A few other tips:
I took the time to put away things that didn’t belong in the closet (and oddly, there was quite a bit! The holidays must’ve warped my brain.). Then I made sure to slide out all of the Rubbermaid bins (that house our Christmas and holiday decor by the way) to give the closet a good vacuuming and dusting.
It’s always a good idea to reevaluate your organizational systems and thankfully, many of mine seemed to be working. It was just me who was the problem. 😉 Look at all that free space now, just from purging, putting things away and rearranging the space. It’s even afforded me enough room to store our carpet cleaner out of sight as well as our step stool (which came in handy when dealing with the top shelf…I’m a shorty).
Have you taken on a major organizational project lately? I’d love to hear about it!
– Christina
This post is storing up lots of fun at the following link parties:
Show Me What Ya Got – Not JUST A Housewife (see sidebar)
Show and Tell @ Blue Cricket Design (see sidebar)
Wicked Awesome Wednesday – Handy Man, Crafty Woman (see sidebar)
Hookin’ Up With House of Hepworths (see sidebar)